
Okay, so today is Wednesday, September 2nd uh 2026. I leave for tour in about uh 5 days from now. And in two days from now, we start rehearsal for this tour, which means I uh I'm in panic mode. I'm in cram mode. As is typical for me, I leave everything that I need to do until the very last minute. So, uh, today I thought I would take you through some of
Машинный перевод (local:quickmt-en-ru+g1). Оригинал
Материал на языке оригинала: English.
The One Thing My Quad Cortex Still Gets Wrong
11 ноября 2026 г. · Источник: Rhett Shull (YouTube)
Я люблю свой Quad Cortex, но есть одна вещь, которая все еще ошибается. Так что за пять дней до тура я перестроил всю свою летучую установку, чтобы починить ее. И построил один для Тайлера, пока я был на нем. 🎸 Хотите понять, как все это сочетается? 👉 https://rhettshullguitarcourses.com/p/the-ultimate-tone-bundle — Моя основная установка для The Midnight никогда не звучала лучше, но я не могу долететь до Мексики. Итак, это сборка летучей установки. Квадрат
Расшифровка видеоавто-субтитры · EN · RU
Нажмите на таймкод, чтобы перейти к моменту в видео
Okay, so today is Wednesday, September 2nd uh 2026. I leave for tour in about uh 5 days from now. And in two days from now, we start rehearsal for this tour, which means I uh I'm in panic mode. I'm in cram mode. As is typical for me, I leave everything that I need to do until the very last minute. So, uh, today I thought I would take you through some of
Okay, so today is Wednesday, September 2nd uh 2026. I leave for tour in about uh 5 days from now. And in two days from now, we start rehearsal for this tour, which means I uh I'm in panic mode. I'm in cram mode. As is typical for me, I leave everything that I need to do until the very last minute. So, uh, today I thought I would take you through some of
my tour prep process, particularly getting two new pedal boards built, uh, for myself and for Tyler, the frontman of the Midnight. Now, in case you didn't know, earlier this year, I joined [music] the Midnight as the touring guitarist. And coming up, starting next week, we're doing the second leg of our US tour. It's called the Time [music] Machines Tour. Basically doing the
my tour prep process, particularly getting two new pedal boards built, uh, for myself and for Tyler, the frontman of the Midnight. Now, in case you didn't know, earlier this year, I joined [music] the Midnight as the touring guitarist. And coming up, starting next week, we're doing the second leg of our US tour. It's called the Time [music] Machines Tour. Basically doing the
entire continental US and then at the end of that run, going to uh, Mexico for three shows. Now, my main rig here is pretty much ready to go. Uh, I had the rack rebuilt by XTS in Nashville. Uh, new case and everything done, and it's it's dialed. This thing has never sounded better. But, I can't take this rig to Mexico. I've got to take a lightweight fly rig. So, what we're
entire continental US and then at the end of that run, going to uh, Mexico for three shows. Now, my main rig here is pretty much ready to go. Uh, I had the rack rebuilt by XTS in Nashville. Uh, new case and everything done, and it's it's dialed. This thing has never sounded better. But, I can't take this rig to Mexico. I've got to take a lightweight fly rig. So, what we're
going to do today is overhaul and update my fly rig that I took with me uh to China, India, and Australia earlier this year. The goal for today is to get both of these boards set up, ready to go, and at least halfway programmed so that we can be ready to roll into rehearsal in just a few days. I do want to quickly thank the sponsor of today's video,
going to do today is overhaul and update my fly rig that I took with me uh to China, India, and Australia earlier this year. The goal for today is to get both of these boards set up, ready to go, and at least halfway programmed so that we can be ready to roll into rehearsal in just a few days. I do want to quickly thank the sponsor of today's video,
which is Sweetwater. Sweetwater was very gracious in sending me out all the gear that I needed to overhaul and get this rig built. And because I'm a procrastinator, they got me all the stuff shipped very, very quickly and on time. If you are building your own fly rig or your own touring rig or you just are looking for the next pedal for your
which is Sweetwater. Sweetwater was very gracious in sending me out all the gear that I needed to overhaul and get this rig built. And because I'm a procrastinator, they got me all the stuff shipped very, very quickly and on time. If you are building your own fly rig or your own touring rig or you just are looking for the next pedal for your
board or power supply, Sweetwater is a great place to purchase that stuff from. And if you want to know more information about some of the gear that I'm using in this rig or that Tyler is using in his rig, all of that stuff will be linked in the description box down below. Thanks again to Sweetwater. Let's uh jump into the pedal board here. [music] This is
board or power supply, Sweetwater is a great place to purchase that stuff from. And if you want to know more information about some of the gear that I'm using in this rig or that Tyler is using in his rig, all of that stuff will be linked in the description box down below. Thanks again to Sweetwater. Let's uh jump into the pedal board here. [music] This is
the board that I built late last year to take uh to China, India, and Australia. Um, I did have a different mood on here. I actually had this one, the Mark 1. For all intents and purposes, this was uh what got me through that run. And it's a great setup, honestly. Like, I don't need to do anything more than this. In fact, I could just run the Quad Cortex,
the board that I built late last year to take uh to China, India, and Australia. Um, I did have a different mood on here. I actually had this one, the Mark 1. For all intents and purposes, this was uh what got me through that run. And it's a great setup, honestly. Like, I don't need to do anything more than this. In fact, I could just run the Quad Cortex,
but I'm not going to. Uh, I did do a whole build video on this last year. If you want to check it out, it's linked in the corner there. But now, a couple days ago, I did just update this Quad Cortex and my backup uh to the new 4.0 0 firmware, which is really cool. It's a massive upgrade, but it still falls short for me in a few areas, which is
but I'm not going to. Uh, I did do a whole build video on this last year. If you want to check it out, it's linked in the corner there. But now, a couple days ago, I did just update this Quad Cortex and my backup uh to the new 4.0 0 firmware, which is really cool. It's a massive upgrade, but it still falls short for me in a few areas, which is
what we're going to address with this new rig build. Now, I am a big fan of the quad Cortex. I think Neural DSP has done a fantastic job with this piece of gear, and it seems to have become sort of the industry standard now for most players that are looking for some kind of all-in-one modeler solution. Like, it's just it's hard to argue with. But one
what we're going to address with this new rig build. Now, I am a big fan of the quad Cortex. I think Neural DSP has done a fantastic job with this piece of gear, and it seems to have become sort of the industry standard now for most players that are looking for some kind of all-in-one modeler solution. Like, it's just it's hard to argue with. But one
gripe I have consistently had with the Quad Cortex is the reverbs and the delays and some of the modulation effects just don't do it for me. So, what I'm going to do is effectively use the Quad Cortex as my amp sim, uh, use it for my drive pedals, my compression, EQ, and my signal routing. But, I'm going to offload the reverb and delay duties to outboard pedals. I'm going to
gripe I have consistently had with the Quad Cortex is the reverbs and the delays and some of the modulation effects just don't do it for me. So, what I'm going to do is effectively use the Quad Cortex as my amp sim, uh, use it for my drive pedals, my compression, EQ, and my signal routing. But, I'm going to offload the reverb and delay duties to outboard pedals. I'm going to
utilize the stereo effects loop in the quad cortex and MIDI. So MIDI will be controlling the bypass of the pedals. I shouldn't have to touch the pedals at all. I'll be able to switch between scenes and presets and have the quad cortex control uh the reverb and delays that I'll be using in the pedals.
utilize the stereo effects loop in the quad cortex and MIDI. So MIDI will be controlling the bypass of the pedals. I shouldn't have to touch the pedals at all. I'll be able to switch between scenes and presets and have the quad cortex control uh the reverb and delays that I'll be using in the pedals.
So, what did I pick to take over in the reverb and delay category? [sighs] The Even Tide H90. I've had my eye on the H90 for a very long time. I owned an H9 years and years ago, and I got rid of it not because of its sounds. It it sounded fantastic, but I hated the user interface of that pedal. It was so difficult to use. And I think the H90
So, what did I pick to take over in the reverb and delay category? [sighs] The Even Tide H90. I've had my eye on the H90 for a very long time. I owned an H9 years and years ago, and I got rid of it not because of its sounds. It it sounded fantastic, but I hated the user interface of that pedal. It was so difficult to use. And I think the H90
alleviates a lot of that. And it gives you like a fullon studiograde outboard piece of gear level quality of their algorithms. And then there's two other sort of quality of life improvements that I'm making. One is going to be an expression pedal. I'm going with the Leela uh dual expression. This is a bomb-proof just great all-around utility
alleviates a lot of that. And it gives you like a fullon studiograde outboard piece of gear level quality of their algorithms. And then there's two other sort of quality of life improvements that I'm making. One is going to be an expression pedal. I'm going with the Leela uh dual expression. This is a bomb-proof just great all-around utility
piece to have. And something that's new for me is uh a wireless system. In the main sort of touring rig, I run wireless and it's become a big part of the show. Like [music] being able to move around the stage and walk over and interact with Oliver the bass player or with Tyler or walk back to the drums. I need to be wireless. This is something I
piece to have. And something that's new for me is uh a wireless system. In the main sort of touring rig, I run wireless and it's become a big part of the show. Like [music] being able to move around the stage and walk over and interact with Oliver the bass player or with Tyler or walk back to the drums. I need to be wireless. This is something I
never thought I would really ever need to do, but this gig calls for it. And uh this is what I'm going with. The Sure GLXD Plus. And I got an extra pack for it because I'll be running two guitars. And uh yeah, the wireless receiver will live right on the pedal board. And then to house all of this stuff, I obviously needed more real estate than the DO7
never thought I would really ever need to do, but this gig calls for it. And uh this is what I'm going with. The Sure GLXD Plus. And I got an extra pack for it because I'll be running two guitars. And uh yeah, the wireless receiver will live right on the pedal board. And then to house all of this stuff, I obviously needed more real estate than the DO7
could give me. So I'm moving up to the uh Trio 21 board from Temple Audio. Same overall layout, same ability to, you know, mount your power supplies, everything you need underneath the board uh with their mod slots and everything. It's just a little taller and a little bit wider. That's uh a quick look at the rig. So, while we wait for Tyler to get
could give me. So I'm moving up to the uh Trio 21 board from Temple Audio. Same overall layout, same ability to, you know, mount your power supplies, everything you need underneath the board uh with their mod slots and everything. It's just a little taller and a little bit wider. That's uh a quick look at the rig. So, while we wait for Tyler to get
here, I'm going to start breaking down everything off of the old board, moving it over to here, and uh get to work. And everything's stripped off the board here. Uh, and this is what I'm going to carry over into the new board. I know it's kind of a mess, but bear with me. I'm going to use the DI mod. This is an active DI that mounts on the side of the
here, I'm going to start breaking down everything off of the old board, moving it over to here, and uh get to work. And everything's stripped off the board here. Uh, and this is what I'm going to carry over into the new board. I know it's kind of a mess, but bear with me. I'm going to use the DI mod. This is an active DI that mounts on the side of the
board, so I don't have to use the XLR outs on the quad cortex. I can just patch directly in the side of the board. For power, uh, I'm going to use the DC7. And before what I was doing is adding the uh 8 output expander because those of you that run quad cortexes, you know they're very power hungry. And the way you have to do it with the chocks power
board, so I don't have to use the XLR outs on the quad cortex. I can just patch directly in the side of the board. For power, uh, I'm going to use the DC7. And before what I was doing is adding the uh 8 output expander because those of you that run quad cortexes, you know they're very power hungry. And the way you have to do it with the chocks power
supplies is bridge like four different power outputs together to give you the voltage required to run the quad cortex. But check this out. One of the things I'm most excited about with this uh new build is that Chocks just came out with a new unit called the Krux, which is designed specifically to power things like quad cortexes with just one outlet.
supplies is bridge like four different power outputs together to give you the voltage required to run the quad cortex. But check this out. One of the things I'm most excited about with this uh new build is that Chocks just came out with a new unit called the Krux, which is designed specifically to power things like quad cortexes with just one outlet.
So, what that means is I don't have to bring the uh 8 output expander, which will save me some weight and some uh space under the board. Basically, you just take the 24volt out from the DC7 here, patch that into the Krux, and the Krux powers the quad cortex, which means I still have all seven of these outlets open on the DC7. And last but not least,
So, what that means is I don't have to bring the uh 8 output expander, which will save me some weight and some uh space under the board. Basically, you just take the 24volt out from the DC7 here, patch that into the Krux, and the Krux powers the quad cortex, which means I still have all seven of these outlets open on the DC7. And last but not least,
carrying over from the older board is the Stryman conduit. This makes it easy to handle all of the different MIDI standards and and switching. Basically, I'll run the MIDI out of the quad cortex into this. And then I have four separate uh TRS MIDI outs here that I can run to the Chase Bliss or the Even Tide or any other MIDI pieces I add in the future.
carrying over from the older board is the Stryman conduit. This makes it easy to handle all of the different MIDI standards and and switching. Basically, I'll run the MIDI out of the quad cortex into this. And then I have four separate uh TRS MIDI outs here that I can run to the Chase Bliss or the Even Tide or any other MIDI pieces I add in the future.
Uh this will also let you bring in MIDI over USB. So, if you wanted to use this with your computer or with Ableton or something like that, uh it's got that capability, too. It's just a really good utility piece to have if you're using MIDI a lot like I am. >> [music] >> Okay. So, walk me through your thought process here with the what you're choosing.
Uh this will also let you bring in MIDI over USB. So, if you wanted to use this with your computer or with Ableton or something like that, uh it's got that capability, too. It's just a really good utility piece to have if you're using MIDI a lot like I am. >> [music] >> Okay. So, walk me through your thought process here with the what you're choosing.
>> Yeah, I love having like true stereo pedals and the CXM is a great reverb. Um, a little dab will do you. So, I think I'll just keep it on um like a master setting and control it with the expression pedal. This will add um I don't use it for saturation. and I use it more for the doubling the chorusy kind of effect. Um, this can also do
>> Yeah, I love having like true stereo pedals and the CXM is a great reverb. Um, a little dab will do you. So, I think I'll just keep it on um like a master setting and control it with the expression pedal. This will add um I don't use it for saturation. and I use it more for the doubling the chorusy kind of effect. Um, this can also do
modulation really well. These are worlds unto themselves. So, if I get uh bored and want to explore, there's there's a ton to uh to dig into. We don't need MIDI switching on the deco. I'm just going to have it always on. It just provides just a slight bit of stereo doubling effect. This will be the more like herdfelt effect. So basically what
modulation really well. These are worlds unto themselves. So, if I get uh bored and want to explore, there's there's a ton to uh to dig into. We don't need MIDI switching on the deco. I'm just going to have it always on. It just provides just a slight bit of stereo doubling effect. This will be the more like herdfelt effect. So basically what
we're doing, guitar comes in, hits the deco mono, then we go stereo out of the deco into the quad cortex because the deco is kind of an always on thing for Tyler. So this side is acting like a little gain boost, a little saturation if he wants it. And then we go into the preset where it's stereo all the way through. And then after the amp and
we're doing, guitar comes in, hits the deco mono, then we go stereo out of the deco into the quad cortex because the deco is kind of an always on thing for Tyler. So this side is acting like a little gain boost, a little saturation if he wants it. And then we go into the preset where it's stereo all the way through. And then after the amp and
after the cab, we hit the stereo effects loop which is going into big time and CXM. and then coming back in and going out. And our IO is on the side of the board here, so it'll make it easy to plug in and out every night. Only other thing we have to do is MIDI. We got the conduit underneath the board, which will take MIDI in from Ableton and just clock
after the cab, we hit the stereo effects loop which is going into big time and CXM. and then coming back in and going out. And our IO is on the side of the board here, so it'll make it easy to plug in and out every night. Only other thing we have to do is MIDI. We got the conduit underneath the board, which will take MIDI in from Ableton and just clock
everything because you're not doing like program change or anything like that, right? >> No, we'll keep it simple. >> Cool. >> Yeah. Enough to have like a few sturdy presets and then also enough to kind of like mess around um and get weird. Okay. So, uh, this is the layout that I'm going to roll with here. Um, obviously the board's powered.
everything because you're not doing like program change or anything like that, right? >> No, we'll keep it simple. >> Cool. >> Yeah. Enough to have like a few sturdy presets and then also enough to kind of like mess around um and get weird. Okay. So, uh, this is the layout that I'm going to roll with here. Um, obviously the board's powered.
Everything's tied down. I've got MIDI run and connected. Now, I need to make the connections for the effects loop. I think I'm just going to spend the next couple hours down here making cables custom to length. I know they'll work. Uh, they'll be the right size and I can just knock it out. So, I'm going to go fire up the soldering iron and, uh, make some cables.
Everything's tied down. I've got MIDI run and connected. Now, I need to make the connections for the effects loop. I think I'm just going to spend the next couple hours down here making cables custom to length. I know they'll work. Uh, they'll be the right size and I can just knock it out. So, I'm going to go fire up the soldering iron and, uh, make some cables.
If you're into building pedal boards, um, I highly recommend building your own custom cables to length. It's a really good skill set to have. Not just being able to solder, but being able to make your own cables. I talk about it pretty much every single time I make one of these rig build videos. Not only does it let you build cables to custom length,
If you're into building pedal boards, um, I highly recommend building your own custom cables to length. It's a really good skill set to have. Not just being able to solder, but being able to make your own cables. I talk about it pretty much every single time I make one of these rig build videos. Not only does it let you build cables to custom length,
but you can also repair cables. And if you have a decent soldering setup, which I think pretty much every guitar player should have in their shop, it opens you up to being able to do a lot more like changing pickups, changing electronics, doing some minor repair work on your own, it's an important skill set to have. If you are getting into building
but you can also repair cables. And if you have a decent soldering setup, which I think pretty much every guitar player should have in their shop, it opens you up to being able to do a lot more like changing pickups, changing electronics, doing some minor repair work on your own, it's an important skill set to have. If you are getting into building
cables though, let me give you a couple of tips. Tip number one is to be organized. Uh when you're working with the stuff, there's a lot of small little pieces and parts. So, one thing I've done is 3D printed this little parts tray. And before I get started, I try and get organized. I count out how many plugs I'm going to need, how much uh
cables though, let me give you a couple of tips. Tip number one is to be organized. Uh when you're working with the stuff, there's a lot of small little pieces and parts. So, one thing I've done is 3D printed this little parts tray. And before I get started, I try and get organized. I count out how many plugs I'm going to need, how much uh
heat shrink tubing I'm going to need, how much cabling I'm going to need. From there, do each step in bulk. What I mean is like when you're making a cable like this, there's five or six different steps. You might be tempted to do one cable at a time where you cut it to length and you strip it, then you tend the jacks and tin the cable and then
heat shrink tubing I'm going to need, how much cabling I'm going to need. From there, do each step in bulk. What I mean is like when you're making a cable like this, there's five or six different steps. You might be tempted to do one cable at a time where you cut it to length and you strip it, then you tend the jacks and tin the cable and then
solder one jack and put the heat shrink tubing on. Instead of that, do everything in one go. So, take all of your plugs, all of your jacks, and tin the connectors first. Then, take all of your bulk patch cable and cut it to length in one go. Then, strip all of the ends of the wiring in one go. This helps keep you organized and it helps keep you
solder one jack and put the heat shrink tubing on. Instead of that, do everything in one go. So, take all of your plugs, all of your jacks, and tin the connectors first. Then, take all of your bulk patch cable and cut it to length in one go. Then, strip all of the ends of the wiring in one go. This helps keep you organized and it helps keep you
from making mistakes because you kind of get into a flow. And especially with things like soldering where it kind of takes a minute to get in the flow of it, at least in my experience, pun intended, when you're doing like eight or 10 or 12 plugs at a time, getting to that point in the process where you're just soldering for 30 or 45 minutes makes it
from making mistakes because you kind of get into a flow. And especially with things like soldering where it kind of takes a minute to get in the flow of it, at least in my experience, pun intended, when you're doing like eight or 10 or 12 plugs at a time, getting to that point in the process where you're just soldering for 30 or 45 minutes makes it
go way smoother and you're less likely to make a mistake. And last but not least, most important tip, when you're making cables, make sure you do not forget to put the other end of the uh the plug housing and the heat shrink tubing on. I can't tell you how many times I have soldered up both ends of the cable only to realize I forgot to put on the little housing or forgot the
go way smoother and you're less likely to make a mistake. And last but not least, most important tip, when you're making cables, make sure you do not forget to put the other end of the uh the plug housing and the heat shrink tubing on. I can't tell you how many times I have soldered up both ends of the cable only to realize I forgot to put on the little housing or forgot the
heat shrink tubing on one side and then I have to unsolder the cable, slide it on, and do it. Hopefully this will save you a little frustration. [music]
heat shrink tubing on one side and then I have to unsolder the cable, slide it on, and do it. Hopefully this will save you a little frustration. [music]
Full man. 2 1 2 3 4 [music] Three. Let's go. Heat up >> [music] >> here.
Full man. 2 1 2 3 4 [music] Three. Let's go. Heat up >> [music] >> here.
>> Heat. [music] Heat. >> the drums. >> Drums. 1 2 3 4 [music] 2 3 4 2 1 2 3 [music] 4
>> Heat. [music] Heat. >> the drums. >> Drums. 1 2 3 4 [music] 2 3 4 2 1 2 3 [music] 4
>> [music] >> 2. [music] 1 2 3 4 Heat. Heat. Heat. Heat. [music]
>> [music] >> 2. [music] 1 2 3 4 Heat. Heat. Heat. Heat. [music]
Heat. Heat. [music] Heat >> [music] >> up [music] Heat. Heat. [music]
Heat. Heat. [music] Heat >> [music] >> up [music] Heat. Heat. [music]
[cheering]
[cheering]
Ещё по теме
 Инструменты, звук и мастераОстрые одетые гитары! Gibson Custom 1959 и США Билли Гиббонс Перли ГейтсAndertons Music Co (YouTube)
 Инструменты, звук и мастераВнутренняя история новой фирменной гитары Джоша ХоммаGuitar.com
 Инструменты, звук и мастераЕе оригинальный состав на редкой стальной строчке 😍🎸SiccasGuitars (YouTube)
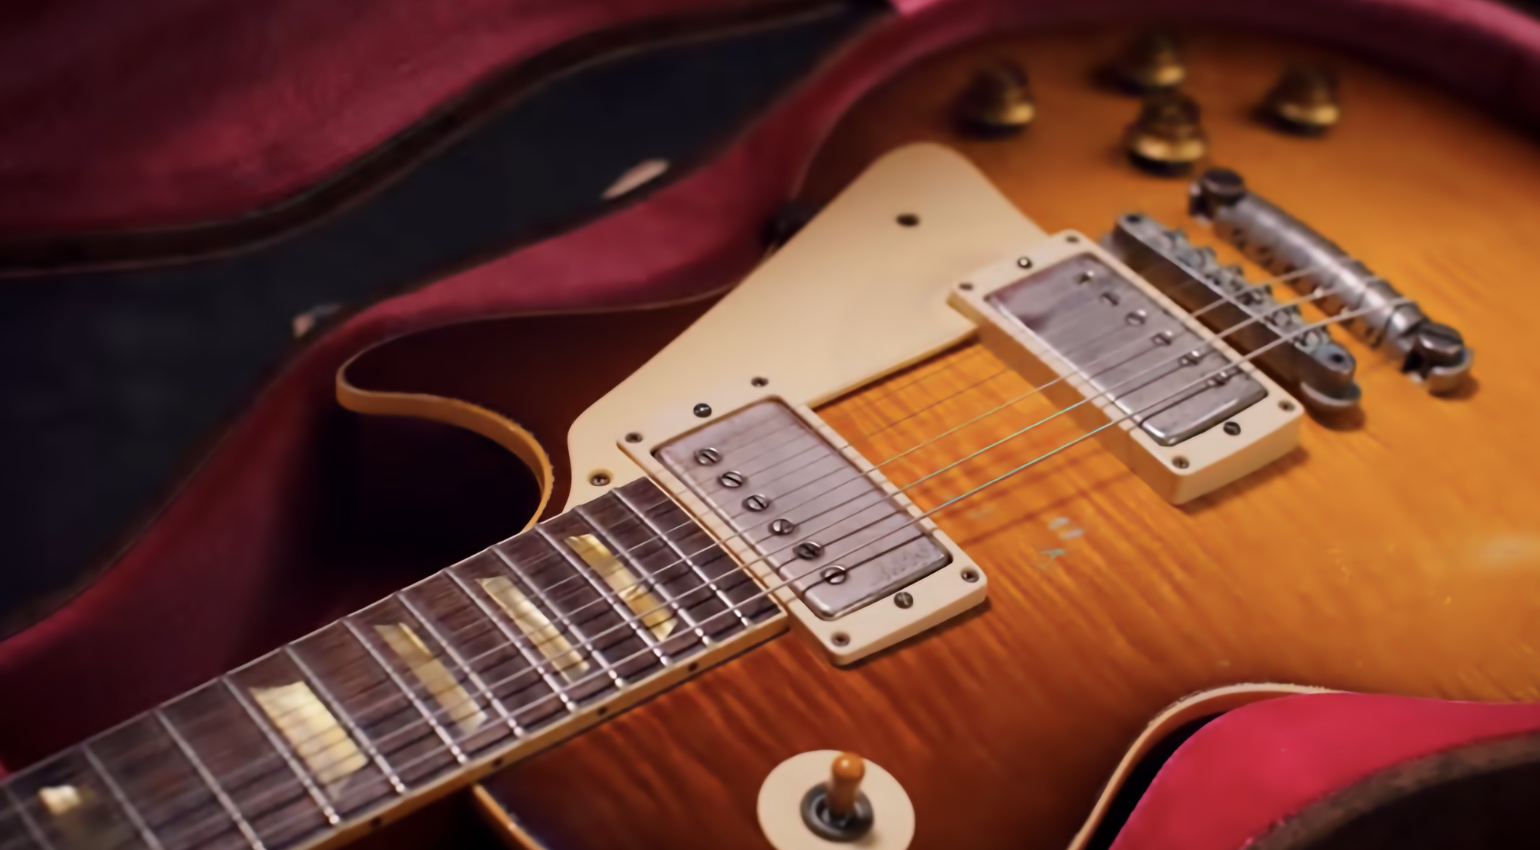 Инструменты, звук и мастераGibson Билли Гиббонс Перли Гейтс Лес Пол: $20k Murphy Lab & USA StandardGibson анонсировала два Билли Гиббонса Перли Гейтса Les Pauls. Высококлассная версия за $20k и стандартная модель США The post Gibson Билли Гиббонс Перли Гейтс Лес Полс: $20k Murphy Lab & USA Standard появились первыми на gearnews.com.gearnews.com